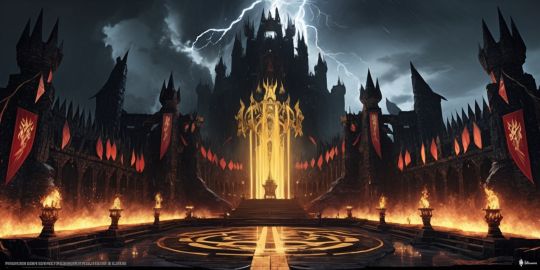
Inside Ganondorf’s Castle is the final major challenge in Zelda: Ocarina of Time Remake, and it bears the burden of all that has gone before before it. Every dungeon item, every movement trick, every combat lesson, and every puzzle skill that has been building across the adventure gets pulled together here. The castle is not simply a final area to rush through. It is a layered gauntlet made to test exploration, timing, observation, and resource management in equal measure. The structure demands patience, but it also rewards confidence, because each barrier removed feels like a meaningful step toward the throne room where the struggle reaches its peak.
Approaching the Broken Capital
The path into the castle begins in the ruined remains of Hyrule Castle Town, where the atmosphere already signals that this is no ordinary destination. The road forward is framed by destruction, silence, and the sense that the world itself has been bent by Ganondorf’s power. As you move closer to the fortress outskirts, the route funnels attention toward a glowing patch of ground in front of the entrance. Standing there triggers the bridge that appears before the main gate, creating a dramatic transition from the outer ruins into the stronghold itself. The entrance sequence is simple, but it sets the tone perfectly, turning a familiar castle approach into something charged with finality and danger.
First Steps Into the Stronghold
Once inside, the layout quickly reminds you that the castle is built as a series of linked trials rather than one straightforward corridor. The first stretch is guarded by a pair of Beamos, which act as a clear warning that every room will ask for awareness. After clearing them, you pass through the next doorway and officially enter the heart of the dungeon. This opening section works almost like a checkpoint for your skills. It expects you to recognize enemy patterns, control your spacing, and stay calm while moving deeper. Even before the barriers appear, the castle communicates that it is a place where every action matters and every room may hold a different kind of test.
The Yellow Barrier and Its Mechanical Trapwork
The yellow route introduces one of the dungeon’s more mechanical puzzle chains. The room begins with Blade Traps and a Beamos, creating a space where positioning matters from the first step. After eliminating the danger, you gather all the diamonds and unlock the next doorway. The following chamber adds Torch Slugs and a chest reward, then shifts into a crystal-switch sequence that asks for clever tool use. A Bombchu becomes the key to hitting a switch hidden behind bars, which opens the way forward. The trail then leads to a sun-switch room where burned webbing reveals the light source needed for the Mirror Shield. Reflecting that light into the proper target opens the chamber containing the barrier, turning a multi-room puzzle chain into a satisfying payoff.
Using Light to Tear Down the First Seal
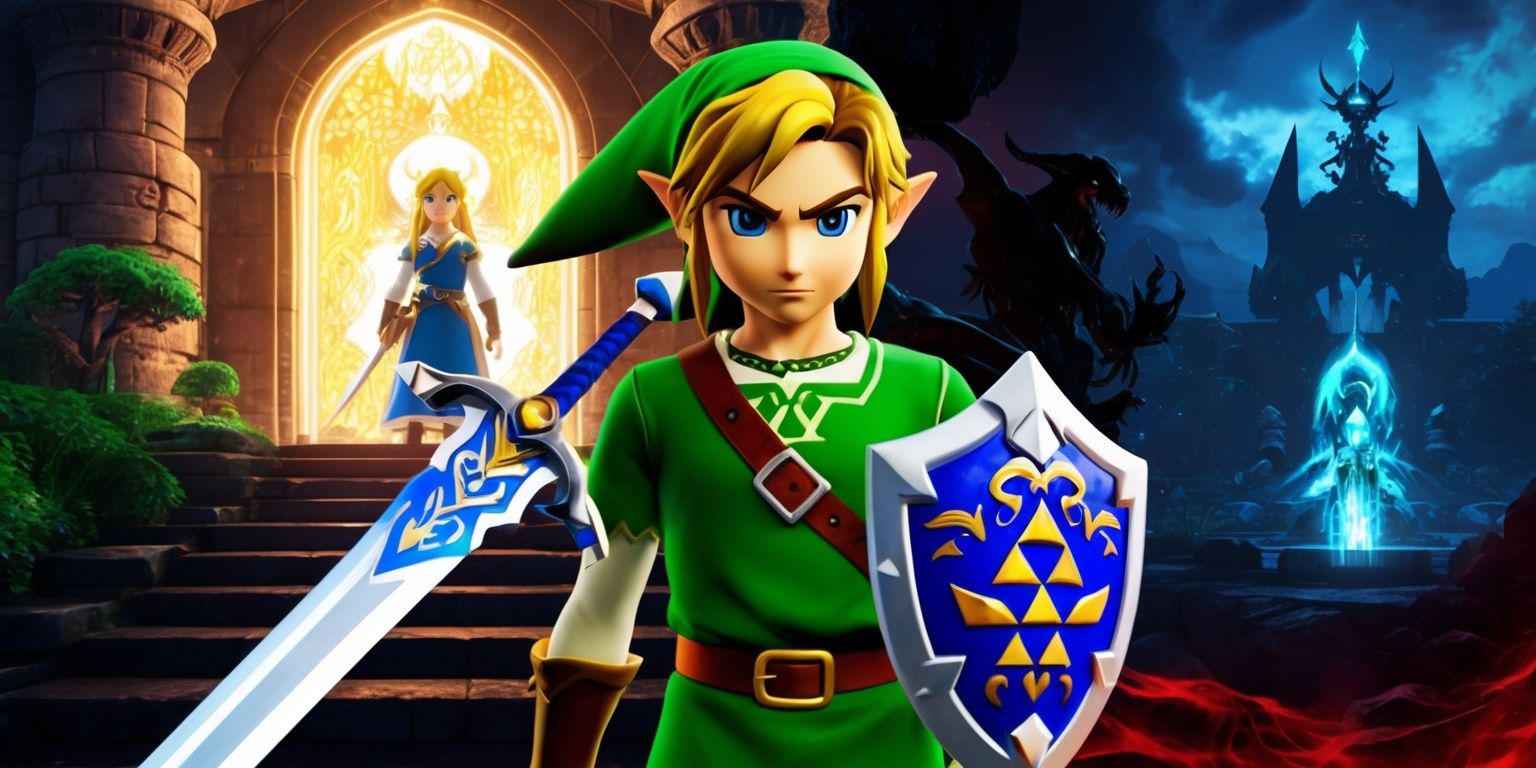
The yellow barrier itself is one of the most striking design choices in the castle. Rather than defeating a creature through standard combat, you confront a force sustained by darkness and collapse it with sacred light. The Light Arrow is not just a weapon here; it is the symbolic counter to the corruption that has taken hold of the fortress. The room is framed to make the act feel ceremonial, with the barrier waiting at the end of a carefully prepared route. That pacing matters. By the time you reach it, the game has already trained you to associate the location with high stakes, so the moment the seal dissolves feels like unlocking both a path and a piece of the castle’s hidden structure.
The Green Route and Its Moving-Space Puzzle
The green section is built around movement, timing, and vertical transitions. It starts with Wolfos and a chest containing arrows, then shifts into a torch-lighting test that uses Din’s Fire and a Fire Arrow in tandem. The next room is more spatially complex, asking you to manipulate a cube with the Song of Time, listen for the fan’s rhythm, and move carefully between platforms. Hover Boots become essential here, and the room rewards players who remain patient while reading the environment. Enemies, shifting wind, and narrow ledges all contribute to a sense that the castle is constantly changing the rules beneath your feet. It stands as one of the most vivid illustrations of how the dungeon blends combat and motion into a single challenge.
Diamonds, Fans, and Hidden Lines of Travel
What makes the green section memorable is how it constantly redraws the room in your mind. You are not simply collecting objects; you are mapping safe routes through an unstable layout. Beamos enemies guard key sections, but the real challenge comes from understanding where the platforming windows open and close. Some diamonds sit just beyond a turning fan, while others require precise use of the Longshot to reach elevated positions. Every pickup feels earned because the room forces you to negotiate the hazards in sequence. There is also a pronounced feeling of forward momentum in how each mechanism builds on the last, turning a once-confusing chamber into a puzzle solved through observation, timing, and adaptation.
The Blue Section and the Return of Frozen Logic
The blue barrier branch leans heavily into environmental problem-solving. Freezards occupy the room and icy obstacles block access to the useful blue fire that melts red ice. The second half of this path revisits a familiar kind of ice-slab logic, but in a more advanced form than earlier icy areas. Instead of simply moving blocks into obvious positions, you must think several steps ahead, shifting slabs so each one lands where the next movement depends on it. The room also includes a trick chest, which reinforces the castle’s habit of rewarding caution over impulse. What makes this path work is its layered clarity: even while the room looks cold and restrictive, the solution is built from logical steps that unfold naturally once you slow down and read the layout.
Tools That Turn the Temperature
This section also highlights how much the dungeon depends on item interaction instead of raw fighting. Blue fire is not just a convenience; it is the key that transforms a blocked route into an accessible one. The Megaton Hammer becomes important in completing the room’s final switch interaction, showing that the castle expects mastery over a custom toolkit rather than a single strategy. Because the environment is dominated by ice and frozen surfaces, every movement feels crisp and deliberate. The room design creates tension by limiting mobility, but the player is never truly powerless. Instead, the puzzle asks for the right sequence of actions, using the tools already earned through earlier adventures to bring warmth and motion back into the chamber.
The Purple Door and the Golden Gauntlets
The purple route introduces one of the dungeon’s most rewarding upgrades. Before reaching it, you must align torch light to raise platforms across a wide gap, then cross while dealing with Green Bubbles and a Like Like. The room then asks for the Lens of Truth, which reveals a hidden path leading to a switch. Standing on that switch causes a large chest to appear, and inside are the Golden Gauntlets. This is one of the most dramatic item rewards in the game because it immediately changes how the dungeon can be approached. The room feels cinematic in the way it stages the reveal, making the gauntlets seem less a keepsake and more of a key to the castle’s deeper architecture.
Heavy Stone and Hidden Routes
With the Golden Gauntlets in hand, the dungeon opens in new ways. Large black-and-gold stones that once blocked progress can now be lifted aside, and that simple shift has a huge effect on pacing. Paths that were previously sealed now unfold into new room connections, and the need for the Lens of Truth remains a constant reminder that the castle layers visibility and physical access together. The purple barrier itself is reached only after you navigate hidden lines of travel and use Hover Boots to cross gaps safely. This section emphasizes how strength in the remake is not just about battle power. It is also about environmental agency, giving Link the ability to reshape the dungeon’s route and remove obstacles that once looked permanent.
The Red Barrier and the Heat of the Lava Chambers
The red path is a harsher physical trial, and it asks for both endurance and quick movement. Once the large rock is lifted, you enter a lava-filled room where the Goron Tunic becomes essential. The largest platform sinks after you land on it, which keeps the room from ever feeling stable. As you move around the chamber, removing heavy stone obstacles reveals new diamonds and even creates access to pickups floating over molten ground. The layout encourages fast decisions without making the room feel chaotic. It has a strong industrial energy, as though the castle is trying to wear down your concentration through heat, motion, and spatial pressure rather than through overwhelming numbers of enemies.
Skulls, Rupees, and the Final Key Path
The last barrier route is one of the most layered segments in the castle. It begins with a locked room, hidden Skulltullas, and a chest assortment that mixes genuine rewards with deceptive ones. The Lens of Truth becomes mandatory here, both for identifying threats and for navigating the next stretch safely. A Small Key is tucked away with one of the chests, and Zelda’s Lullaby unlocks an additional reward at the Triforce symbol. After that comes a compact but dangerous chamber with rolling boulders and a Longshot point overhead, turning the space into a rhythm test of movement and timing. Collecting all the diamonds here is more about reading the room’s motion than about speed, which keeps the pressure focused but fair.
The Tower, the Guardians, and the Boss Key
Once the barriers are gone, the central tower becomes the focus. The climb upward is structured as a sequence of enemy rooms that gradually intensify. Lizalfos, Stalfos, and Iron Knuckles each demand different defensive habits, and the Iron Knuckle encounter especially stands out because it tests spacing, timing, and nerve in a tight space. Their armor makes them imposing, but the fight becomes more manageable once you understand when to move, when to strike, and when to let their momentum expose openings. After the final chamber falls quiet, the Boss Key appears, marking the transition from puzzle-driven dungeon navigation into the final push toward the throne room. It is one of the strongest examples of how the castle stages its escalation, saving its hardest combat for the moment when the route to the final confrontation is nearly complete.
Last Preparations Before the Top of the Tower
Before heading to the final door, the castle gives a small moment of breathing room that still feels tightly controlled. Pots and jars provide a chance to gather hearts and arrows, while the corridor beyond continues to curve upward through a long stair sequence. The structure of this final stretch is intentionally ceremonial, as if the castle is escorting the player toward the central reckoning. The emptier the halls become, the more focused the atmosphere feels. Every step upward reinforces that there is nothing left to explore for its own sake. The route narrows, the music and pacing gain urgency, and the path finally leads to the boss door that marks the final threshold of the dungeon.